Making a Handmade Leather Briefcase

Hi, Guys!
I made a simple briefcase this time.
It has a little larger storage space than A4 paper.
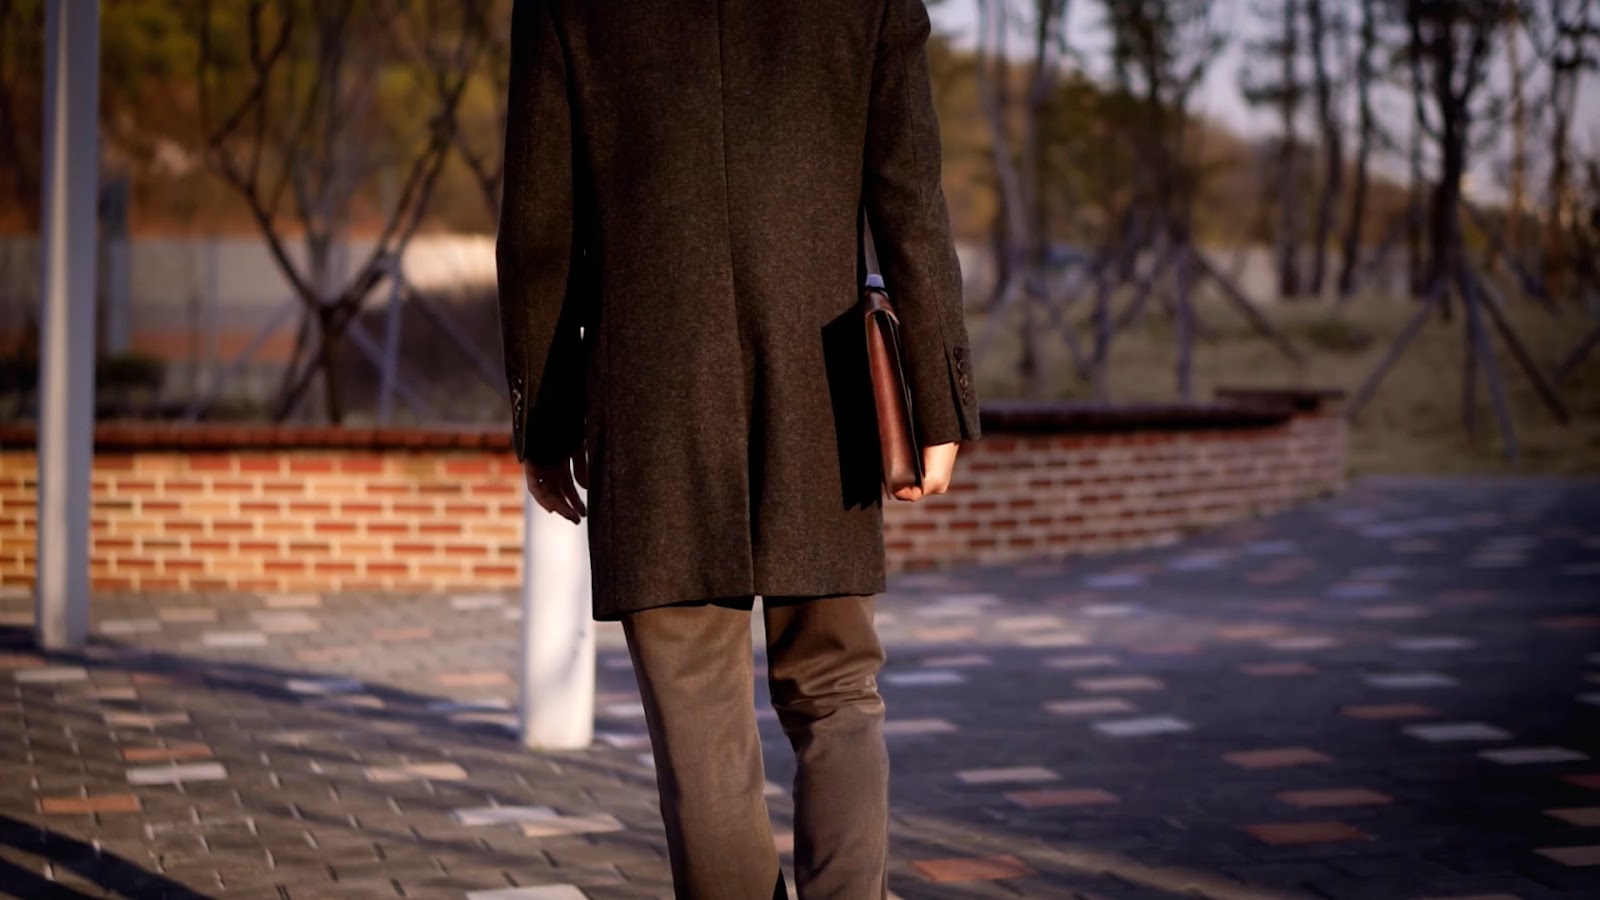
You could add a handle or a shoulder strap
to make it easier to carry around.
Anyways, Let's start!


Supplies:
Outer Leather: Black Wax Buttero 4oz
Inner Leather: Buttero Natural 2oz
Leather pricking iron : 5mm spacing
Hole punch : 5mm diameter
Small shape punches (Optional)
Glue : Kenda adhesive
Rivet (6mm in diameter) X2
Sandpaper 400 grit
Edge beveler
Thread : Vinymo MBT #5
Needle : John james needle #4
Awl
Flat awl
Wing divider
Wood slicker
Tokonole (Burnishing Gum)
Melamine foam
Step 1: Prepare the Pattern


Please download and print out the pattern that I uploaded here.
(The PDF included a A4 and US letter size)
IMPORTANT : Please set your printer 100% actual size option.
Then, cut out the pattern with some margin.
Step 2: Cut the Leather
Step 2: Cut the Leather


1.5mm thick Black Wax Buttero
The surface is black because of the wax.
If you polish up the surface, the color of the leather is exposed.
Cut out the leather slightly larger than the pattern panels.
Step 3: Make Leather Harder


The leather becomes much more stiff if you glue two pieces of leather together. If you're using harder leather, you don't need any reinforcement. If you're using soft thin leather, reinforce the leather using Bontex, LB, or other stiffners.
Step 4: Punch the Holes


I used 5mm Hole Punch and Mini Long Oval-shaped Punch.
(You don't have to use exactly same punch)
Step 5: Remove the Wax


Smooth the edge with a 400-grit sandpaper. Then, Remove the wax with Melamine Foam from the center to the edge. If you got the right look, rub the surface with some tissue or soft cloth. The combination of black and plum color gives a vintage look.
Step 6: Sew the Upper Edge


Chisel along the line (5mm Slanted Prong Pricking Iron) then,
Sew along the stitching holes.
Step 7: Dye the Edges

Dye the edges with leather dye.
Step 8: Skive the Leather


Draw lines 8mm inwards from the edges on both sides and the bottom.
From the lines, skive the leather to make it thinner towards the edges.
Step 9: Do the Same Process for Panel C


Step 10: Make Side Panels


For the sides, use one pattern (side panel) to make each sides.
Skive only the longer sides.
Step 11: Make the Lid Panel


The work is similar for the lid.
I punched the center hole with a mini rectangular punch.
Cut out the extra margins, and
smooth the edges (sandpaper-beveling-dyeing-Tokonole)
Step 12: Make the Lock Belt #1


To make it nice and thick, I used Buttero Split Leather.
(You can use Sponge Sticker Tape or LB instead!)
Cut the Split Leather using the pattern panel (lock belt).
Mark 6mm inwards from the edge and cut.
Apply glue on the leather and the lining,
and put the Split Leather piece in the middle.
Press with fingers and cut it leaving 5mm margin.
Step 13: Make the Lock Belt #2


Chisel on the 5mm margin. Dye and burnish the edge.
Step 14: Make the Center Loop


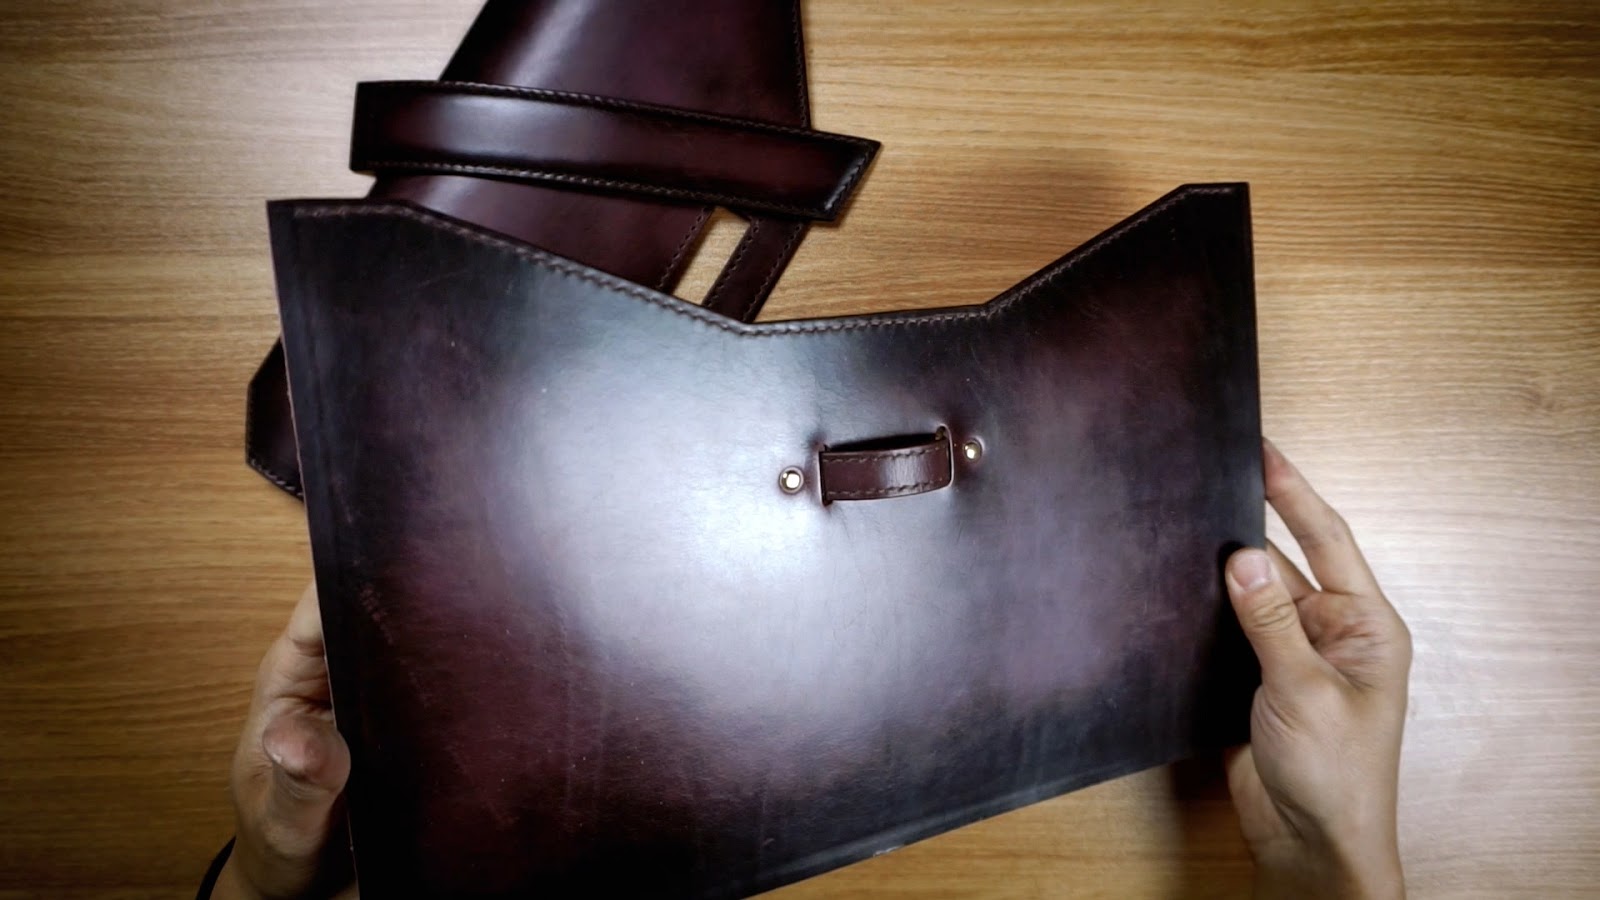
Cut the leather using the pattern and sew along the edge.
Finish the edge as well. Then fixed the loop with 6mm rivets.
Step 15: Put the Lock Belt on the Lid


All the sides of the lid have been sewn except
for the side to be attached to the back.
Scratch the part to put the belt. Glue the belt on the lid.
Scratch the inside of the lid and apply glue.
Look at Panel C to find where to put the lid. Mark the part.
Scratch the part to put the lid and apply glue along the scratched line.
Then, Put the lid to the back panel.
Sew the lid and the back panel together.
Step 16: Side and Bottom Panel


Glue them together like this, and Make holes with a flat awl and sew.
Bend the corners like this.
Step 17: Assemble Whole Parts


Make stitching holes with a flat awl. Sew them together.
I finished stitching by winding the thread twice through the last hole.
Combine the back panel as you did with the front panel.
It's finally the last stitch.
Step 18: Edge Finish


Step 19: Done!


Thank you for watching this long tutorial.
See you in next project!
Bye!


I keep getting an error that the page doesn't exist anymore for both pattern links, same result if I try w/drive😓
ReplyDeleteSame here :-/ I was very excited this pattern was available for free, hopefully it still exists somewhere else!
DeleteHi guys! Hope you have a good year-end. I don't know why the link was miswritten, but it's now fixed. I hope it's not too late for you guys. Thank you so much and Happy New Year!!
Deletebonjour,
ReplyDeletemerci pour se partage d'excellente qualité
ReplyDeleteThanks for giving us this wonderful information. This is very useful for buyers. After reading this awesome blog there is no confusion before buying.
Get Flat OFF
leather briefcase laptop bag
Thanks alot!
ReplyDelete